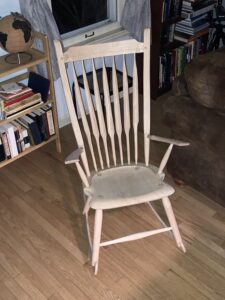
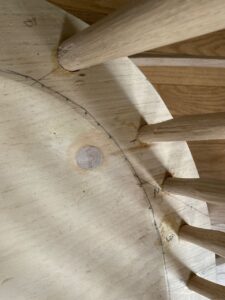
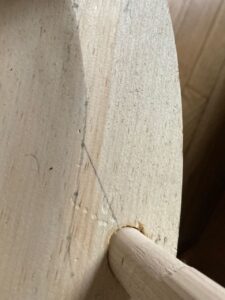
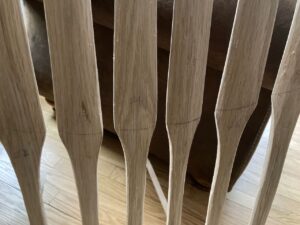
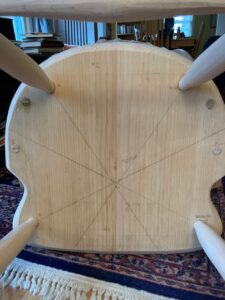
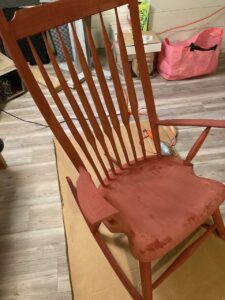
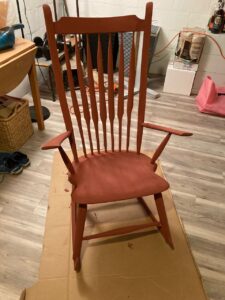
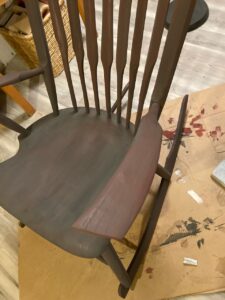
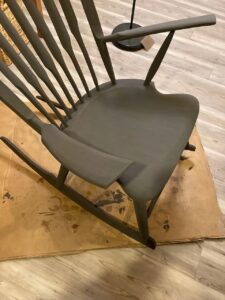
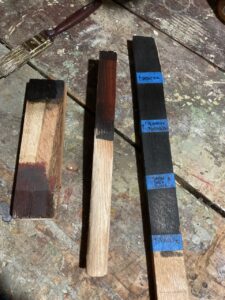
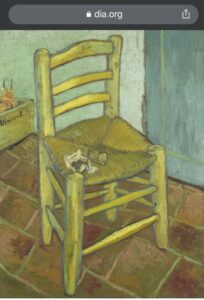
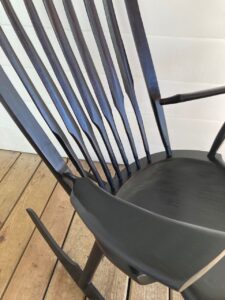
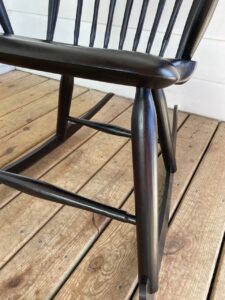
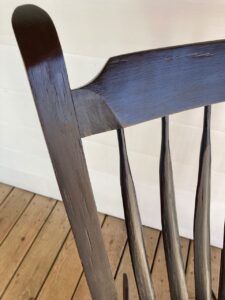
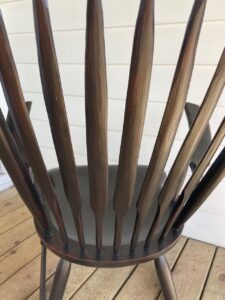
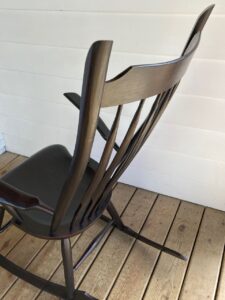
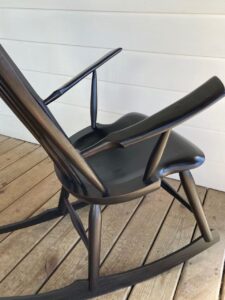
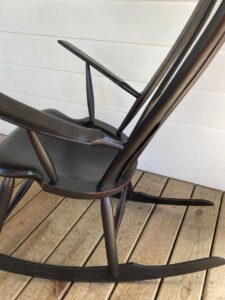
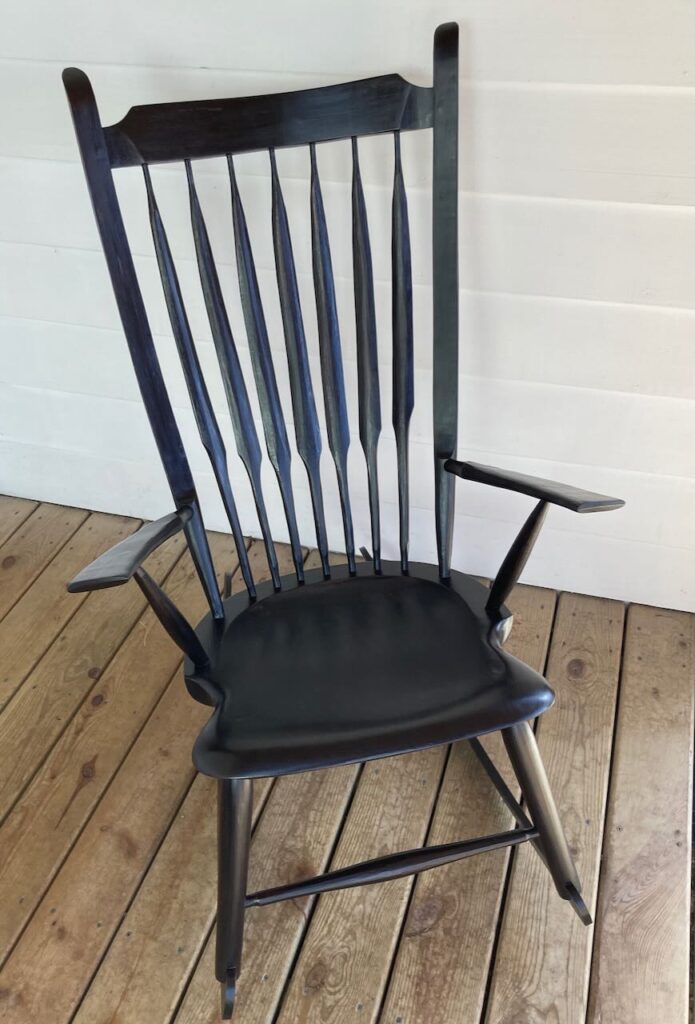
Sequential art, part 2: finishing the chair We’re back with the second (and last) installment of “Jim, out of his depth.” In case you missed it, and care, here’s part 1: Sequential art (or, how I spent the week after Thanksgiving). So, on with the picture show! To open part two, here’s another image, where you can see some pegs and joints that need trimming so they won’t poke people when it comes time to sit. And also, some close-ups of unsanded surfaces, construction lines… …and mistakes. Look at that sloppy joint! Here you can see the spindles 02-07, with fibers still poking out. I never did get these 100% smoothed, guaranteeing that nobody will ever mistake this for being machine- or professionally-made. Also, though you can’t tell from the picture, spindle 06 is off. It’s canted a little from the others — don’t know how I managed to not glue it in right, since I checked it many times. (I probably did glue it in right and then bumped it before it set. Argh.) It also didn’t take the steam as well as the others so it’s too straight. Visually not ideal, but it doesn’t seem to affect sitting comfort. On the seat bottom (helpfully marked “BOTTOM”) you can see all the sight lines for drilling those thrilling compound angles, and also, in the lower right corner, the note to “DOCTOR THIS” where I made a mistake and we had to add a small wedge. So, that was the raw wood. Skipping ahead, I got those joints and pegs flush, sanded everything down to 220 and then did a super-thin coat of shellac to seal the surfaces just enough to…cover everything with paint. Here’s the unlikely first coat: Barn Red from the Real Milk Paint company. I’d never heard of milk paint before this project, and it’s stuff you mix yourself from powder. Shelf life of, well, milk since it really is made with milk protein, so you mix small batches and use it fast. Anyway, looks awful, doesn’t it? I was warned that the first coat would, and to trust the process. Second coat, and it looks nice and uniform. Per Peter Galbert‘s recommendation, I then applied another heavily thinned coat of shellac to prevent the next, and even-waterier, coat of paint from turning the previous two into a slurry, and hit it with a coat of “Arabian Night” black. Ugh. Muddy. Dull. Trust the process. Two more coats of black and it’s both not as ugly, and uniform enough to now burnish. The idea behind burnishing is to both help the black stick better and to expose some red as well — on purpose, in places you want it. I don’t think I did a good job at this, and the shellac might not have worked right for me because there were some places that burnished nicely and some where too much black came off and even when I tried to repaint it just wouldn’t stick. But overall, the effect is nice. The chair looks completely black in low light but add a few lumens and you see pleasing red highlights. And now I’m going to skip way ahead, though this time it’s not because things happened too fast, but rather too slow. With the paint in place as best as I could manage, it was time to seal and protect the wood, and add some shine. I wanted to avoid petrochemicals and polyurethane to keep the final finish’s look and feel more natural. Also, I don’t have a heated external shop, so I needed to work in the basement and use materials that weren’t going to kill any of the large mammals in the house. (Sorry bugs, you weren’t a consideration, but it’s winter in Michigan so you should be elsewhere anyway!)This led me to start with a couple coats of tung oil, thinned down with citrus-based solvent. That produced a very dull gloss, just barely more reflective than what you saw in the previous pictures. Also, I’d clearly not burnished enough since I was still picking up paint dust during the second go-round. Too late to fix that, but no worries! Following the advice of our instructor Luke, I planned to bring up the shine a bit in the final coat. My plan was to mix the tung+citrus with satin Osmo Polyx — a “blend of vegetable oils (sunflower, soybean and thistle) and waxes (carnauba and candelilla) combined with a small amount of low-odor solvent.” It’s sustainable and has minimal environmental impact.Good plan, but while his recipe for a finishing coat had all the same basic ingredients and proportions (1/3 oil, 1/3 thinner, 1/3 poly), Luke at Sam Beauford suggested different types of each from what I used.Now, I’m not a complete dope: I’d done some samples with various mixtures on some scrap oak, and it seemed to work, but between those sticks and the chair something went awry. Either the samples were too small and dry to be representative (I was using very hard, kiln-dried red oak scraps from another project), the tung oil wasn’t dry enough to take another coat, the Osmo doesn’t mix well, or it was bad execution by me. It was probably all four, with emphasis on bad execution. It looked good going on, since most finishes do, but the next morning it was an ugly, hazy, splotchy mess and my heart sank.Fortunately, we planned to go to the Detroit Institute of the Arts to see the Van Gogh exhibit that day — and better still do so with some friends — so I had to leave the thing alone for a while. Couldn’t even look at it! I won’t pretend that at times that day I didn’t brood about ruining the damn chair, though, so I was no doubt occasionally bad, or at least distracted, company.(The exhibit was great. Lunch was delicious. The friends are lovely.) Anyway, the next day, with the disaster coat dry enough to attack, I attacked. Sanding pads and spite and self-recrimination brought everything back down to an even, dull look. Returning to one more coat of tung oil, which at least didn’t lift up any more paint dust this time, I followed up with the hardest thing ever — let that cure and truly harden for a month. No photos of this, so again we’ve skipped ahead to see the final result… (By the way, since I finished the red coats on New Year’s Day and it was MLK Day when I put everything on hold for a month, the pace of things was driving K a bit crazy, though she generously stopped bugging me after I flat out said “You know I don’t really know what I’m doing, right?”) So, after letting the tung oil cure and checking with Osmo customer service, who said it would work (and noted that you shouldn’t mix their product with other finishes…yup, can confirm!) I used the Osmo on its own. The results were mixed. Some parts looked good and others were far too shiny. This time I’m pretty sure the mediocre result was because I used too much finish and didn’t wipe the excess off soon enough after applying it. So I buffed it all back with 0000 steel wool and an ultra-fine synthetic pad and then it looked…not bad. It was still a little matte for my taste, but this showed that if worse came to worst I could get an acceptable sheen that way. So I risked one more time with the Osmo, this iteration so thin you almost couldn’t tell by looking at the container that I’d used any at all. And I used the stopwatch/split feature on my old school running watch to make sure to wipe off any excess on a section (and there wasn’t much) after about 5 minutes. This last coat, including the wiping, only took 48 minutes total. (Thanks running watch!) And here we are. It may still be too shiny, but I actually like it far more than anything I’ve managed so far. And I now know I can change that if we decide it’s too much gloss. The red highlights show up pretty well here… …and here. Anyway, I say “if we decide” because K (and Bella) have been very patient as I stumbled through this, and K likes it as is. Bella’s fine with it too. So it’s time for me to let this thing go as my art project and let it get to work at being our chair.